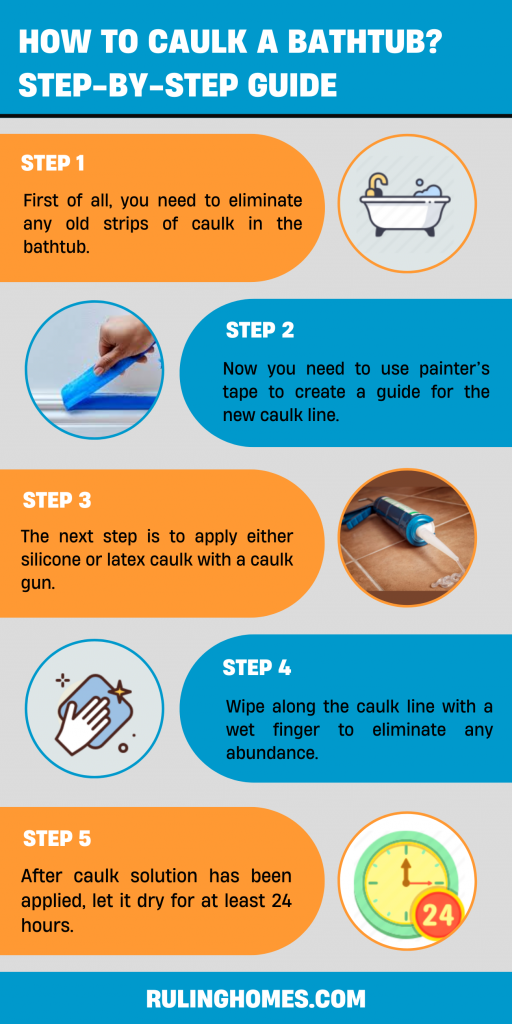
The process of caulking a bathtub is simple if you follow few steps.
- First of all, you need to eliminate any old strips of caulk in the bathtub.
- Now you need to use painter’s tape to create a guide for the new caulk line.
- The next step is to apply either silicone or latex caulk with a caulk gun.
- Wipe along the caulk line with a wet finger to eliminate any abundance.
- Last however not least, let the caulk solution dry for at least 24 hours.
If you do not understand these steps, you can read the detailed guide below. But before that, you need to understand the tools you need and collect them before starting any work.
Table of Contents
Tools You Need
You need to purchase or gather the necessary supplies to guarantee a smooth caulking process to get yourself started. We are assuming that there is no caulk already present, or it has already been eliminated.
A Caulking Gun:
A container of caulk; It can vary contingent upon what it is utilized for. Make sure to get a caulk that indicates the utilization for a bathroom or tub and shower. The color may vary as well, so pick a shading that matches your tub or shower.
Painters or Masking Tape:
The blue painter’s tape makes it easier to see your work because of the contrasting tones.
Rags and/or Paper Towels:
Rags and/or paper towels for keeping yourself clean and not all that messy.
Wipe:
It is an optional decision. A wipe and some scouring alcohol to clean the surface that will be caulked, and a hairdryer to dry the area faster.
Also Read: How to Remove Bathtub Drain?
Prep Your Tub for Caulking
After you have gathered the tools for caulking, you should prepare the area you need to caulk.
You have to make sure that the caulk surface doesn’t have residue, mold, or existing caulk bits. To guarantee a pleasant clean surface, take a wipe and some scouring alcohol and clean the joints and the edges around the joints in which you will caulk.
You can utilize a water-wet rag to clean and let it dry. You can also utilize a hairdryer to accelerate the process of drying.
Grab your tape and start trimming around the area you will apply the caulk. You can start taping underneath and above the tub and shower joints.
The width of the joint is for your care; however, you need to remember that too small of caulking joint may bring about the caulk not attaching to the tub or wall surface, causing cracks where water can leak in.
Prep Your Gun for Caulking
With the tub ready for caulking, you should now get your caulking gun ready for the job.
First of all, you need to eliminate the cap from the caulk. Cut the tip of the caulking tube. Check the place of the cylinder after eliminating the cap to discover measurements for drop sizes relying upon where you cut the size of the drop is at your caution; however, as a novice, a smaller size may turn out better for control.
Pick your size and, utilizing a utility blade, cut a 45° angle and the tip of the caulk bottle where you eliminated the cap. This angle will allow you to lay great caulk drops in the joint.
The next step is to cut the seal of the cylinder. In the event that you look inside the tip you just cut, you will see a foil seal, which should be penetrated altogether for the caulk to be released.
Some caulking guns have a small penetrating tool attached, so check your gun before stabbing anything into the caulking tube. Remember, whatever you use to break the seal will probably wind up with caulk on it, and it may not be amusing to clean off.
Pull back switch arm, which will be in the shape of an L at the back of the gun. It should snap into place once pulled back, bringing about space for you to embed the caulk.
Now you can add the caulk bottle, with the circle at the finish of the ‘L’ arm of the gun resting inside the opening at the handle of the caulk container. The tip of the caulk bottle rests in the indent at the front of the gun.
Hold trigger to make a grip on the caulk bottle.
Also Read: How Hot are Hot Tubs?
Kinds of Caulk to Use in The Bathroom
The best caulks for tubs, sinks, or showers come in tubes labeled “Tub and Tile” or “Kitchen and Bath.” These are either acrylic latex or silicone-based chemically tweaked to oppose mold and adhere to smooth, nonporous surfaces. Yet, they have particularly various characteristics.
Silicone
Silicone is tenacious, waterproof, and truly adaptable. This sort of caulk is also meticulous about surface conditions, hard to smooth, requires mineral spirits for cleanup, and emanates a nose-wrinkling smell until restored.
It leaves a buildup that’s hard for anything—including new silicone—to adhere to. That’s the reason once in the past, and silicone surfaces ought to be scoured with an abrasive pad soaked in mineral spirits. Silicone caulk has a color palette restricted to clear, white, and almond.
Acrylic Latex
Compared with silicone, this sort of caulk is substantially more lenient about the kind and cleanliness of a surface it’s applied to. Smoothing is easy, it cleans up with water, and it doesn’t have a lot if any, smell.
While it shrinks more and dry harder than silicone—and will probably be replaced a little sooner—the replacement job should speed up. Acrylic latex caulk arrives in a rainbow of colors to match sink and tub glazes.
Detailed Step by Step Guide for Caulking a Bathtub
Step 1
A quality caulking process starts with a quality item. There are two primary sorts of caulk you can look over: silicone and latex. While silicone shapes the more grounded seal, latex is easier to work with, especially in case you’re an inexperienced person.
You can use a sealant you can find on amazon. Few sealants are based on both silicone and latex in their formulation, conveying the smartest possible solution.
Before purchasing a caulk for your task, make sure to double-check the label and verify that the item has been designated for use in kitchens and baths.
These formulas contain special materials that safeguard against shape and mold—a quality that’s certainly necessary when you set out to caulk a shower.
Step 2
Before you apply the new caulk, you have to make sure to eliminate any leftovers from the last work. In any case, your new bead will not bond well.
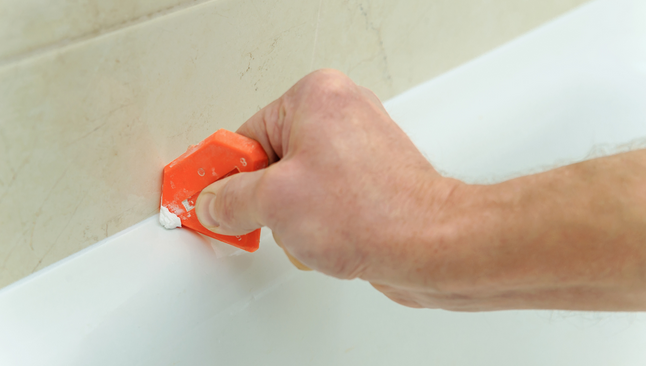
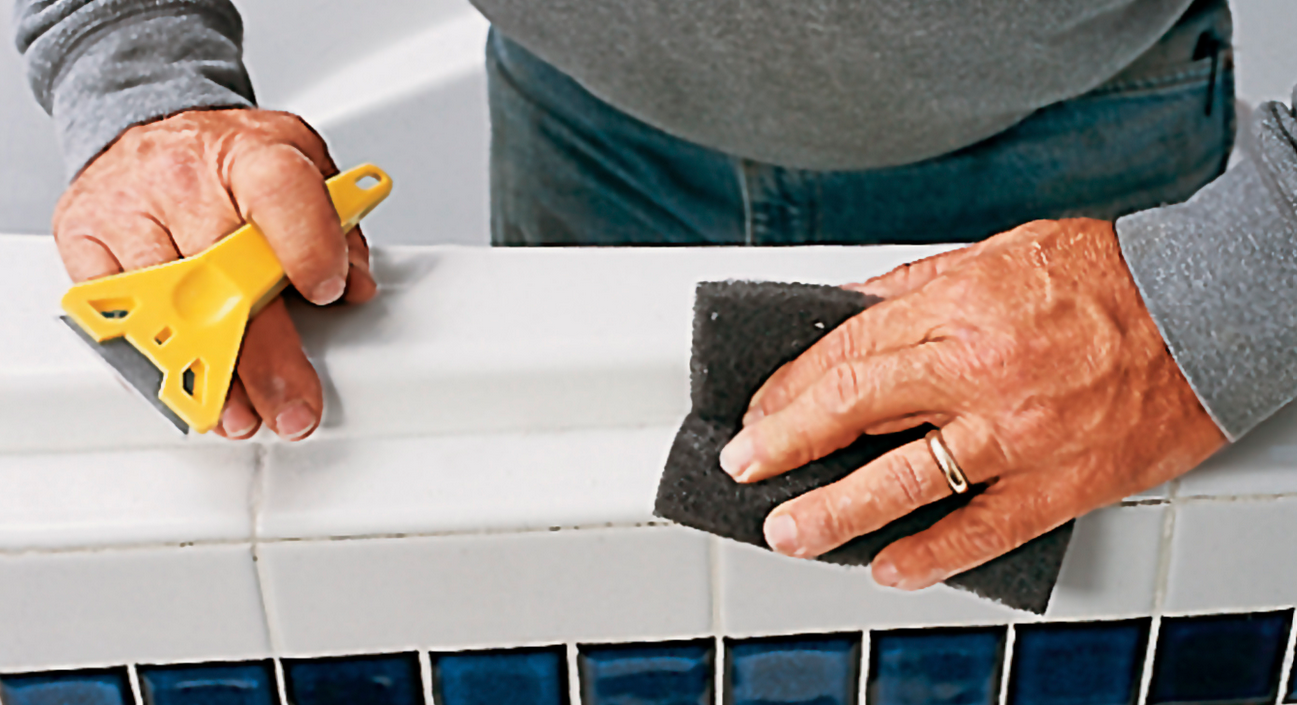
Utilizing a utility blade or oscillating tool, slice through the portions of the old caulk. Scrape off as much as conceivable, and then apply a specialized remover to any difficult spots.
In the event that you find an outline in your path, eradicate it with a commercial cleaner or a homemade arrangement of one part bleach to two parts water.
When the old caulk has been taken out, wipe down the area and allow it to dry altogether before you start with your caulking, as it will not adhere to a wet surface.
Step 3
While you can apply caulk by just crushing it out from the cylinder, it’s ideal for putting resources into a quality caulk gun. This will allow you to manage the stream easily and will, accordingly produce more accurate outcomes.
Since these are relatively unsophisticated tools, even the best solutions typically don’t cost a lot. For example, many experts who caulk professionally use Cox caulk guns which you can find on Amazon. These guns are a durable, elite tool that typically sells for under $30.
With any caulking gun deserving at least some respect, however, you get a tough plunging mechanism that allows for exact and even appropriation of caulk, and you get a pressure release that allows you rapidly to pause or stop the application.
When loading your picked caulk gun, remember not to cut off a significant part of the tip from the caulk tube. A wide opening will yield a thick bead, which may lead to messy outcomes. Cut the tip simply above the indentation point that is usually marked on the cylinder.
Also Read: How to Unclog Bathtub?
Step 4
Painter’s tape makes a great guide to guarantee a clean bead. Utilize long tape segments to mask off the surface on one or the other side of the line where you’ll be applying your bead of caulk, regardless of whether that’s along the wall, shower door, or tub.
To start the bead, apply strain to the caulk gun or tube and use the gun from your starting point or, holding the gun at a 90-degree angle, push the caulk in a forward movement.
There is no obvious set-in-stone procedure, so pick the approach that turns out best for you and continue accordingly.
Step 5
When the gap is full, wet your finger and wipe along the line to eliminate the overabundance caulk and create a smooth, adjusted bead. Strip off the painter’s tape while the caulk is as wet, and then proceed to the following segment to be caulked.
Step 6
At the point when you’re set, allow the caulk to dry for at least 24 hours before returning to regular utilization of the shower or bathtub. A thorough caulking process should last at least a year—which means you have around 365 additional chances to watch your favorite show before you need to repeat the process of caulking the bathtub again.
Cleaning Up During and After Caulking
Silicone is a sticky mess which is why we recommend using both paper towels and a wet washcloth. During the caulking process, you will inevitably get your fingers in some caulk. Utilize a paper towel to wipe away the mass from your fingers and the wet wash fabric to get the rest off it.
On occasion, you get caulk on the tub or floor, utilize the same technique for utilizing a paper towel to get the mass, and a wet wash material to get the rest.
We suggest you carry a can or a wastebasket to discard tape and utilize paper towels speedily. As for the caulking tube itself, clean off the tip, place the cap back and press tenderly on the gun trigger briefly.
Make sure not to press too hard or too much as this will cause the caulk to extract from the cap.
Doing a pleasant, delicately fast push allows the cap to seal and hold the caulk back from drying out. At that point, release the ‘L’ handle holding the paste in place to take the cylinder out.
If you’ll take proper care, cleaning the bathtub will not be a problem.
Conclusion:
Congratulations! You have effectively finished caulking your tub and shower. Since you have this freshly discovered talent, there are so many different things you can caulk! Just make sure you follow all the above steps, and you can caulk anything you want.
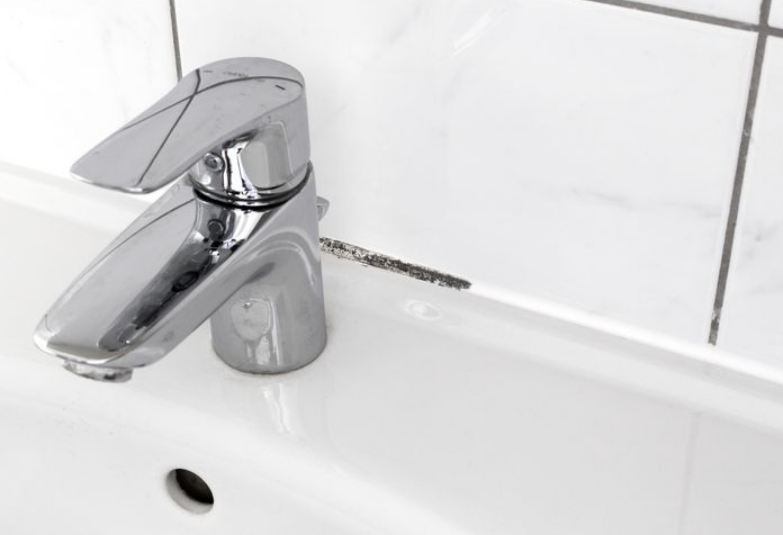
You can also learn how to fix a leaky bathtub faucet, and you won’t need a plumber for your bathroom anymore.

I grew up on a small farm in New Jersey. We had a big family because my parents, my uncles and aunties all were living together on this farm so, you can imagine, it was always over crowded with people. But living in farm was really great because we had to do everything on our own and I learned so many things from my parents and uncles and aunties and that is where I found my passion for fixing things, whether it is renovating or designing, I was always there. Read more