Cleaning an airless paint sprayer involves a few simple steps.
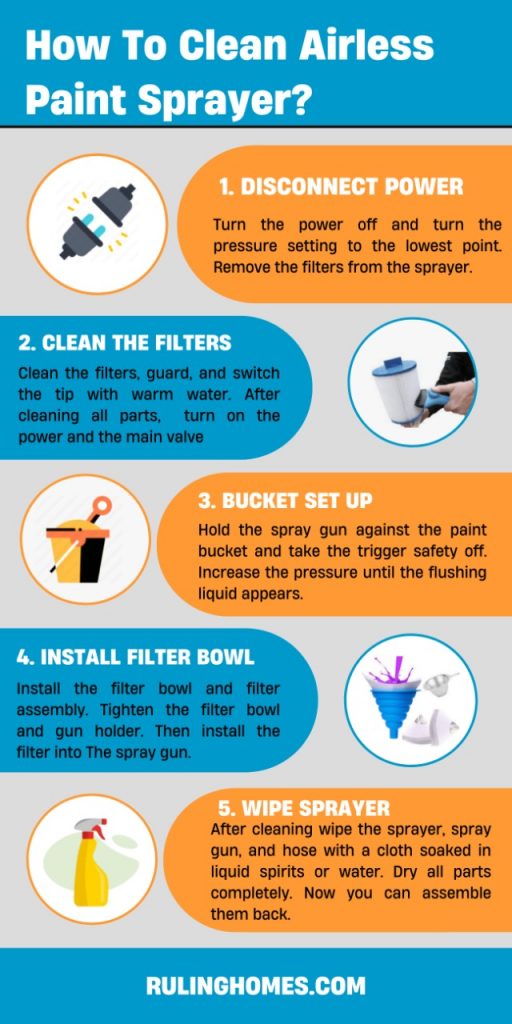
- First of all, you need to turn the power off and turn the pressure setting to the lowest point.
- Now you can remove the filters, guard, and switch tip from the sprayer.
- The next step is to clean the filters, guard, and switch the tip with warm water. Once you clean all these parts, you can turn on the power and the main valve.
- Now you have to hold the spray gun against the paint bucket and take trigger safety off. This is the point when you can trigger the gun and increase the pressure until the flushing liquid appears.
- The next step is to install the filter bowl and filter assembly. You can hand tighten the filter bowl and then install the filter into the spray gun. You also need to hand tighten the gun holder.
- Last but not least, you need to wipe the sprayer, spray gun, and hose with a cloth soaked in liquid spirits or water. Once you are done cleaning, you need to wait for the parts to dry completely. Once the parts are dry, you can assemble them back.
Table of Contents
Here is a detailed process for cleaning the airless paint sprayer:
Follow the cleaning steps in the correct order when cleaning an airless paint sprayer. It will ensure working of an airless paint sprayer and its long-term usage.
Step 1: Disconnect Power
Start with disconnecting the electric power and then carefully remove the nozzle, filters, and gun.
Step 2: Set Up Your Buckets
Depending upon whether you’re spraying oil-based like finish, or water-based paints like emulsion, you’ll need to fluctuate your paint sprayer cleaner.
You need one bucket loaded up with water and one empty bucket to eliminate the dirty fluid cleaner.
Read More: Paint to use on Wood Decks
Step 3: Clear Out the Remaining Paint
Place the suction in your clean bucket and point the gun at your unfilled bucket. Utilize the spray mode and the prime mode to push out any leftover material.
Stage 4: Cleaning the Filters
This is an important step in the process of cleaning the airless paint sprayer. You need to clean the filters and then go for the small parts.
Don’t forget to clean each and every filter. There are three kinds of filters in the airless paint sprayer.
Suction Filter: This is found on the end of the suction hose that is also dipped into the material
Manifold Filter: This is found in the actual machine, typically on the left or right side.
Pencil Gun Filter: This is found in the handle of the airless spray gun.
You can check your user manual to see the different segments of your spray gun. The user manual can help you remove the parts and place them back.
Remove the pencil filter from the gun, then remove the manifold filter. Once you remove these two filters, you can remove the suction filter as well.
Find the Best paint for Basement Wall
Once you have removed all three filters, you need to place them in the empty bucket to absorb the dissolvable solution or water.
Try not to put the whole gun in the dissolvable because such a treatment can be harsh on the gun. You can just put the filter into water.
Put on some gloves and start cleaning away anything left on the filter. You can use a brush to clean away the remaining paint with a gentle hand.
Step 5: Clean the Nozzles
This is the difficult part of cleaning an airless paint sprayer; however, a couple of apparatuses can make it simpler for you. You can use an old toothbrush, small pipe cleaners, and a very thin needle.
To clean the nozzles, you need to submerse the spray tip in water or thinners for a couple of minutes. Now you can use the toothbrush to scour each side of the spray nozzle.
You can use a needle and prick the nozzle. You can hold it up in the light and check if you can see the light through it.
You need to remove any material stuck in the way using a thin needle.
Also Read: Best Paint for Wooden Fence
Step 6: Scrub the Spray Gun
Now it is time to clean the small parts of the sprayer gun. Since you are cleaning different parts, you also need different brushes to get into each of the little parts.
Some parts are more delicate than others, so it is likewise a smart thought to keep a couple of small brushes close by. For instance, the plastic and elastic seals can be easily broken, so you need to utilize a soft and small brush.
Now you can take the spray guard off and clean it using water.
With the spray tip, spray guard, hose, and gun filters removed, hold the gun under a faucet of water and hold the trigger down.
You need the water to be streaming into where the filters are placed. Do this for at least 60 seconds to make sure it is clear.
Step 7: Wipe Dry
When every part is totally clean, you can clear off the water or thinner it until totally dry. Utilize a clean, dry material for this.
The set of tools depends upon the type of paint you are working with, so you have to note the required tools. It includes:
- Nitrile Gloves
- Protective Eyewear
- Soft Brush
- Paint Bucket
- Waste Bucket
- Cloth
- Protective Outerwear Like Overalls
- Mineral Spirits (For Oil-Based Paint)
- Water (For Water-Based Paint)
Final Thoughts:
Now you know the important steps to follow for cleaning your airless paint sprayer. Consistent maintenance is the best solution for keeping it last much longer and using the airless paint sprayer in the best way.
Just make sure you follow these steps and protect yourself from any chemicals, and you can master this cleaning process in no time!
Find the best Roller Cover for paints

I grew up on a small farm in New Jersey. We had a big family because my parents, my uncles and aunties all were living together on this farm so, you can imagine, it was always over crowded with people. But living in farm was really great because we had to do everything on our own and I learned so many things from my parents and uncles and aunties and that is where I found my passion for fixing things, whether it is renovating or designing, I was always there. Read more