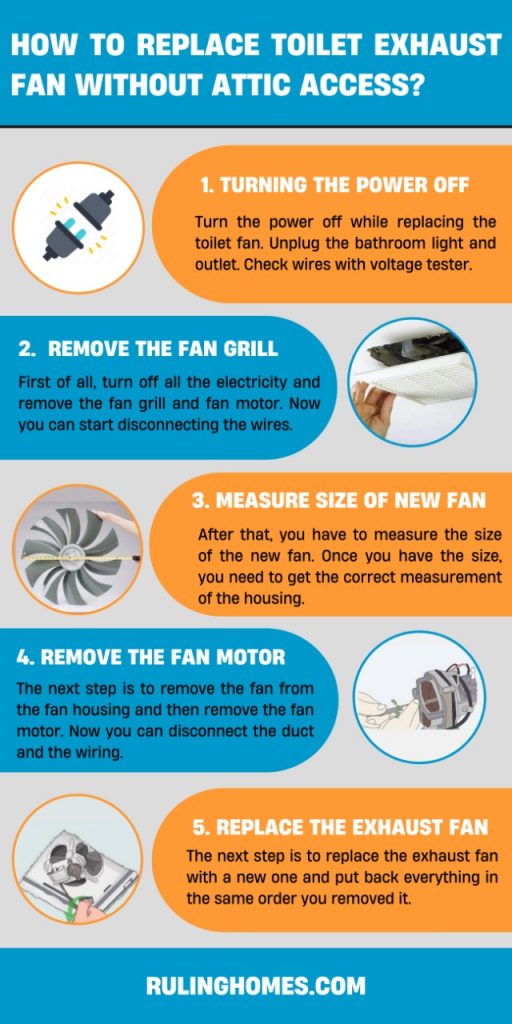
Replacing a toilet fan involves following a few basic steps.
- First of all, turn off all the electricity and remove the fan grill and fan motor.
- Now you can start disconnecting the wires, here’s how to wire a bathroom exhaust fan.
- After that, you have to measure the size of the new fan. Once you have the size, you need to get the correct measurement of the housing.
- The next step is to remove the fan from the fan housing and then remove the fan motor. Now you can disconnect the duct and the wiring.
- The next step is to replace the exhaust fan with a new one and put back everything in the same order you removed it.
Table of Contents
Step by Step Guide: Removing the Old Fan
Here is some step to remove the old fan. It includes:
Step 1: Turning the Power Off
Turn the power off while replacing the toilet fan. Check the breaker for your bathroom line on the panel box. Make sure the light and the bathroom outlet do not have power anymore. Use a voltage tester to make sure there’s no electricity inside the wires of the fan.
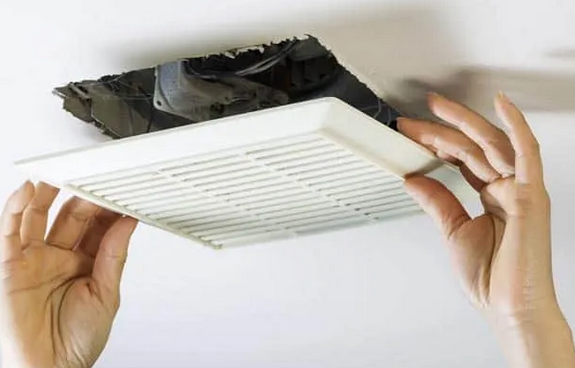
Step 2: Removing the Grill on Bath Fan
In this step, remove the grill on the toilet fan. Sometimes there’s a plastic cover. You have to remove that as well. Bring the plastic cover down.
Two metal clips are going to be there to fix the cover to the panel. Now squeeze the clips inward. Then release the clips. Once the cover is removed, you can remove the grill.
Step 3: Removing Fan Motor
The next step is to remove the motor fan. In most cases, the housing is connected to the ceiling beams. Use a screwdriver to get rid of any screws you can find here.
Remove the fan before you get the motor out of the housing. However, if your fan has no plug here, then disconnect the wiring manually.
Step 4: Getting the Fan Housing Out of The Ceiling
This step might sound a little tricky. Because now you have to remove the fan housing from the ceiling. If you are using the same kind of model for the new fan, you do not have to proceed with this step.
Usually, there are several screws to attach the panel with the ceiling support. You need to remove the screws and pull out the fan housing.
Step 5: Disconnecting the Duct & Wiring
Now you have to disconnect the duct and wiring from the fan housing. Remove the zipper tie as you remove the vent duct. This is the time for you to remove the electrical wiring lines.
Step by Step Guide: Replacing the Old Fan
Step 1: Check the New Fan Size
Once you have removed the old fan, you can check the new fan size. Put the new fan into the ceiling whole to make sure if it fits. Trace a replacement hole on the ceiling if the new fan housing is larger.
On the other hand, if it’s too small, then use some wood so that you can install the housing securely. You have to attach the fan to the ceiling joist.
Step 2: Drag the Wiring Through the Fan Housing
After measuring the dimensions, you need to bring the fan’s wiring through the new fan housing. You can pull the wiring through the fan housing and attach it to the motor wiring.
As you pull the wiring, you have to secure it by using bushing. It’ll keep it safe from getting damaged.
Step 3: Connect the Duct or Flapper Connector to Fan Housing
Now you have to attach a duct connector. You can connect it using duct tape or flapper. Once you do it, you can push the metal fan housing into the ceiling.
Step 4: Connect Electrical Wiring to New Exhaust Fan Motor
You are almost done. The fixing part is done already. So, now it’s time to attach electrical wiring to the fan motor. You pulled the wiring through the fan housing but haven’t connected yet. You need to connect it now.
Step 5: Seal the Fan Housing
After connecting the electrical wiring, you can check for air leaks. If there are any leaks, you can seal them using metal or foil tape.
Step 6: Reinstall the Grill or Cover
Your fan is nearly installed. Now reinstall the grill where you pulled it from. You can also place the cover over the grill if there is any.
Step 7: Turn the Power On
Now turn the electricity on and see how it’s working.
Conclusion:
Attic access allows you to do this with additional convenience. However, you can install an exhaust fan easily and perfectly if you follow the steps mentioned earlier.
Always be careful around electricity and use all needed precautions. Do not forget to turn off electricity from the bathroom panel before you start your endeavor.

I grew up on a small farm in New Jersey. We had a big family because my parents, my uncles and aunties all were living together on this farm so, you can imagine, it was always over crowded with people. But living in farm was really great because we had to do everything on our own and I learned so many things from my parents and uncles and aunties and that is where I found my passion for fixing things, whether it is renovating or designing, I was always there. Read more